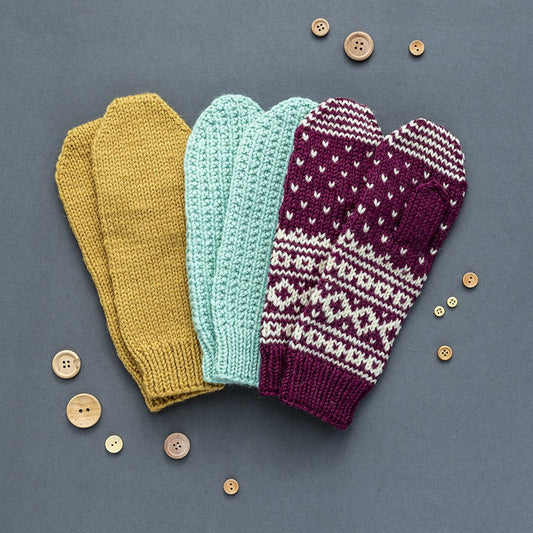
Picking up stitches from waste yarn is most commonly required when knitting thumbs on mittens or gloves using the Afterthought or Gusseted styles. It is worked by first knitting the future thumb stitches with waste yarn, then once the mitten is complete, the waste yarn is removed and the live stitches are placed onto double pointed needles to work the thumb. If a pattern has you cast on stitches over your thumb stitches (as in the Gusseted Thumb in our Building Blocks Mittens), you can elect to use this technique instead (and vice versa).
The great thing about this thumb is its versatility. It can be easily placed anywhere, and it’s perfect for not interrupting the flow of mittens with colorwork knit/purl or cable patterning.
The trick is to be sure to pick up the right “leg” of each stitch above and below your contrast yarn. Once you’ve done it, it makes total sense, but it can be an intimidating process.

Step 1 / Using the same size double pointed needle you used for the mitten hand, start to unpick the first stitch of waste yarn.

Step 2 / Insert the tip of one double pointed needle into the first stitch that the waste yarn releases.

Step 3 / Repeat Step 2 for the bottom stitch, using one double pointed needle for the top row of stitches, and one for the bottom row of stitches.

Step 4 / Continue to unpick the waste yarn, one half stitch at a time. Each time a new stitch is released from the waste yarn, place it on your double pointed needle.

Step 5 / Once all stitches are released, you should have equal numbers on the top and the bottom needles.

Step 6 / Divide these stitches evenly onto double pointed needles. In the image above, the stitches were divided onto 4 needles, and the 5th will be used for knitting. You may also divide the stitches onto 3 needles, and use the 4th for knitting.

Step 7 / Using your additional dpn and working yarn, pick up and knit one stitch in the vertical space between the top and bottom rows of stitches. In the image above, the yarn is joined at the hand side of the thumb, with the top row of stitches on the left and the bottom row on the right.
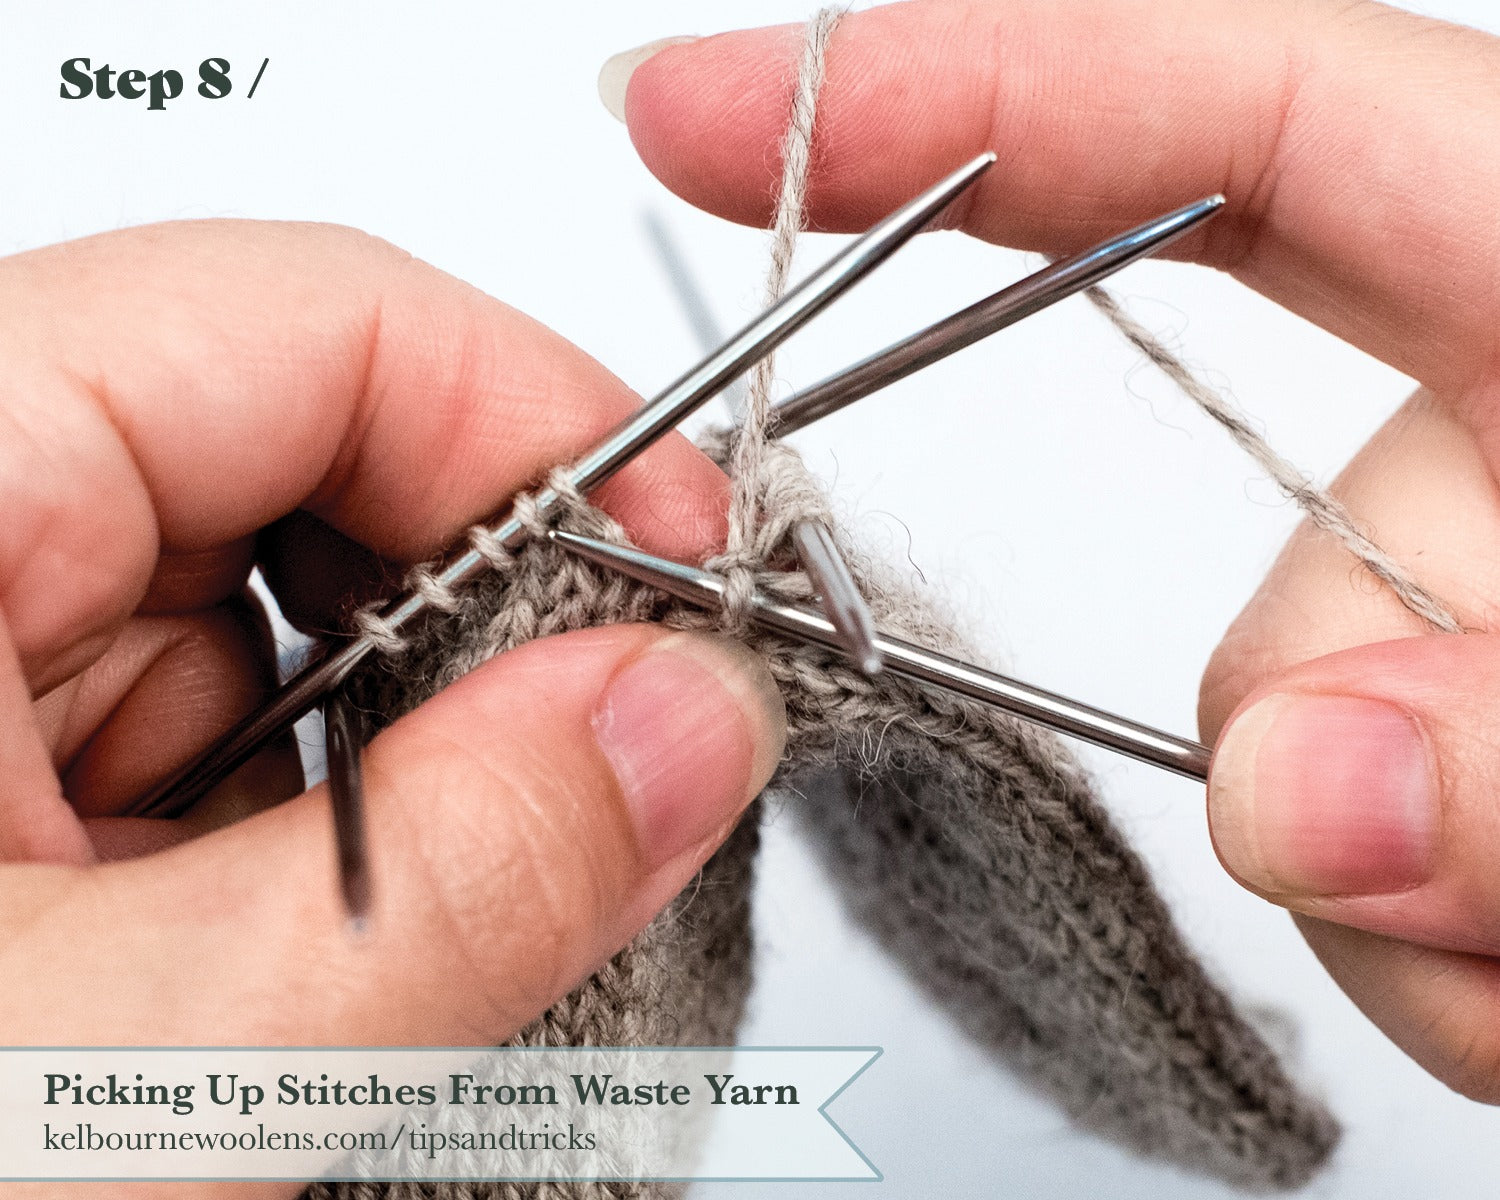
Step 8 / Continue and knit across the first row of stitches. (In the image above, since the yarn was joined at the hand side of the thumb, the top row will be the first row worked.) After knitting across, pick up and knit one stitch in the vertical space between the top and bottom on the opposite side.

Step 9 / Continue and knit across to the beginning of the round. You now have all your thumb stitches ready to work!

-
Building Blocks: Mittens
Regular price $8.00Regular priceUnit price per