
When Meghan designed Killybegs, she really wanted pockets, but also wanted the design to be easy to make for people looking to add a classic closet staple to their wardrobe. In the interest of simplicity, I let the pockets go. Now that I am making my own cardigan, I decided to add hand-warmer pockets and I wrote up the modification so you can too! After all, who wouldn’t love cosy cardigan pockets?
The pocket hole is made vertically while knitting the cardigan fronts. Stitches are then picked up on the center front edge to work the pocket flap. This is an easy way to add pockets to any cardigan or pullover you like!
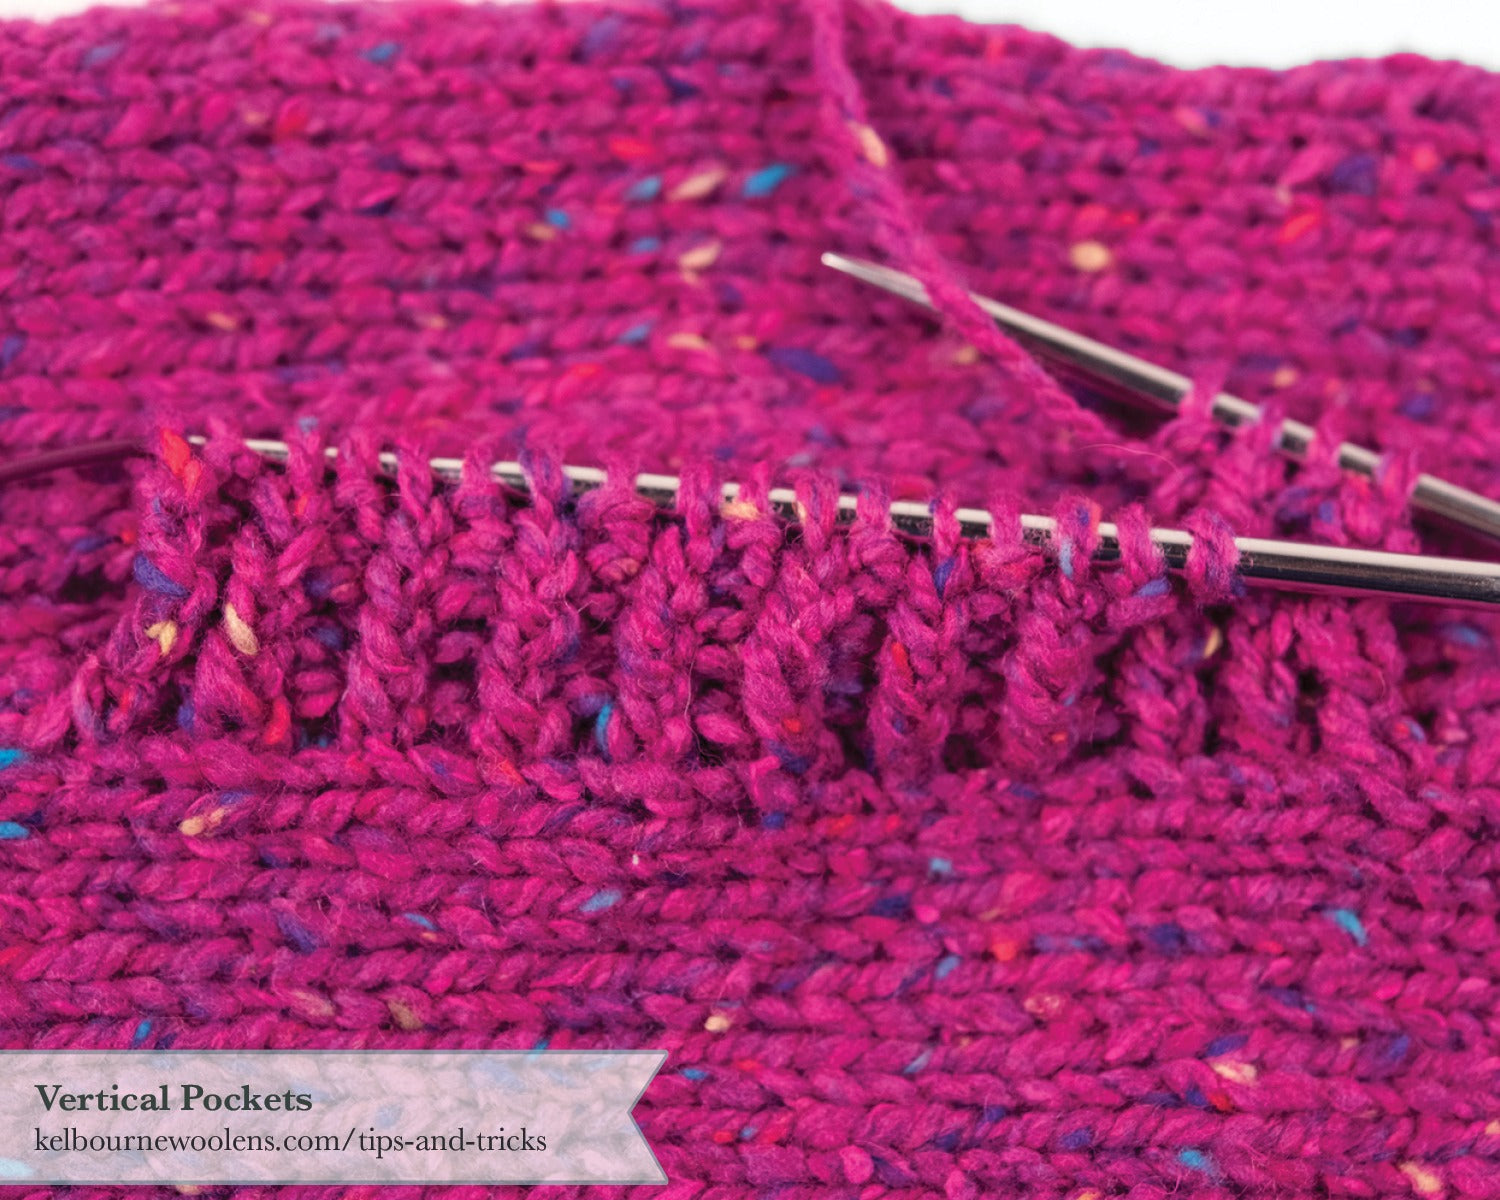
Part One: The Pocket Hole

Create the Pocket Hole:
Step 1 / After the cast on, place a stitch marker 10 stitches in from the side seam edge. Work the fronts until 3.25” (8.25cm) from cast on edge, ending after working a wrong side row.
Step 2 / Knit to the marker, place the stitches on holder, knit to the end of row. Work back and forth for 25 rows; put these stitches on a holder or waste yarn, break yarn. Return previously held stitches to needles, join yarn in preparation to knit a wrong side row and work back and forth for 25 rows. Do not break the working yarn.
Step 3 / Return the held stitches to same needle as current stitches, knit across all stitches; continue with the instructions in the pattern for the fronts. The hole for the pocket has been formed.
Pick Up for the Pocket Flap:
Step 1 / With the RS facing, and beginning at the center front edge, pick up and knit 3 stitches for every 4 rows up the pocket opening. Once complete, there will be 21 stitches on your needles.
Part Two: Work the Pocket Flap
The pocket flap is worked in a twisted knit 1, purl 1 ribbing to match the ribbing on the cuffs, hem, and shawl collar. Work the ribbing as follows:
Row 1 (WS): Ktbl, *p1, ktbl; rep from * to end.
Row 2 (RS): Ptbl, *k1, ptbl; rep to end.
Repeat Rows 1 and 2 until pocket flap measures 1.25” (3 cm). Bind off in pattern.
Note: If you make your pocket larger or smaller than these instructions indicate, use Kate’s super helpful “Perfectly Picked Up Stitches” tutorial. An odd number of stitches on the flap insures a nice clean look that begins and ends with a knit stitch.
Part Three: The Pocket Lining
Pick Up For The Pocket Lining:

Step 1 / Position the cardigan front horizontally in front of you with the wrong side facing up. Starting at the bottom of the opening, pick up and knit 20 stitches up the pocket opening. Rotate the piece, and pick up and knit 20 stitches down the pocket opening. 40 stitches will be on your needles.

Step 2 / If working on double pointed needles, arrange the needles on the stitches in order to work in the round. Knit in stockinette stitch until the pocket length reaches the side edge of the sweater front.

Step 3 / Transfer stitches evenly onto two double pointed needles so that the stitches align evenly with the pocket opening (the first 20 picked up stitched on one needle, and last 20 picked up stitches on the other.) Bind off all stitches using a 3-needle bind off.
Finishing The Pocket

Using the mattress stitch, sew the pocket flap down to the cardigan fronts. Weave in ends. When assembling the sweater, tack the inside pocket to the side of the sweater and seam using mattress stitch.
Voila! You now have hand-warming pockets on your cardigan!