


Kelbourne Woolens
Ross Vest Pattern
Ross Vest Pattern
Couldn't load pickup availability
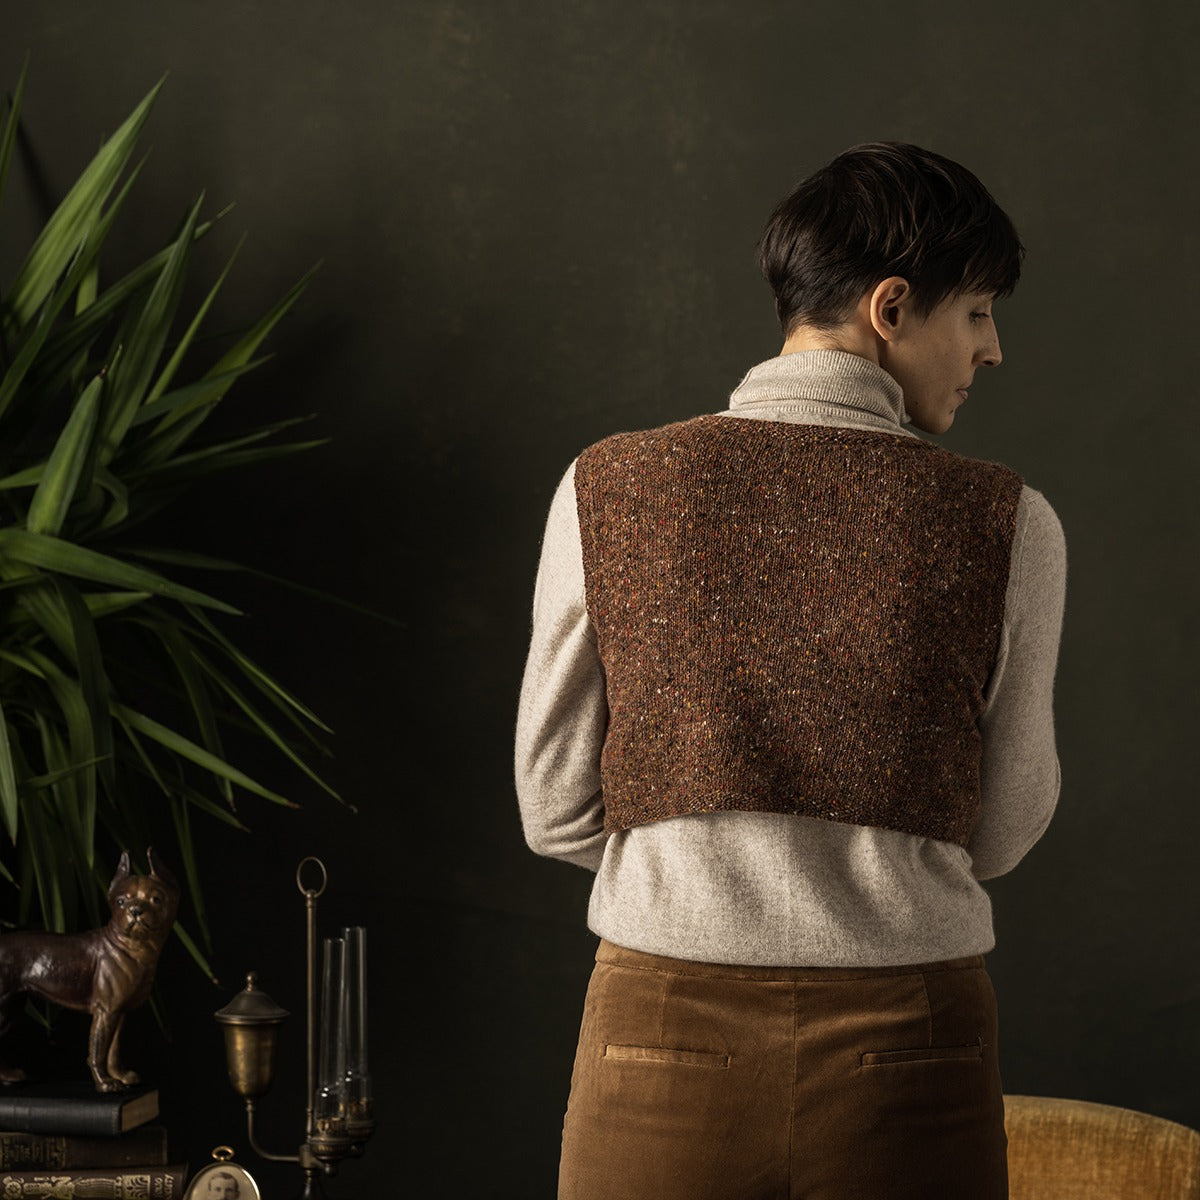
This classic waistcoat is knit in pieces and seamed.
The back begins with the seed stitch hem, then changes to working in stockinette. Each front is worked in stockinette first, then stitches are picked up along lower front edge for working the seed stitch hem downwards.
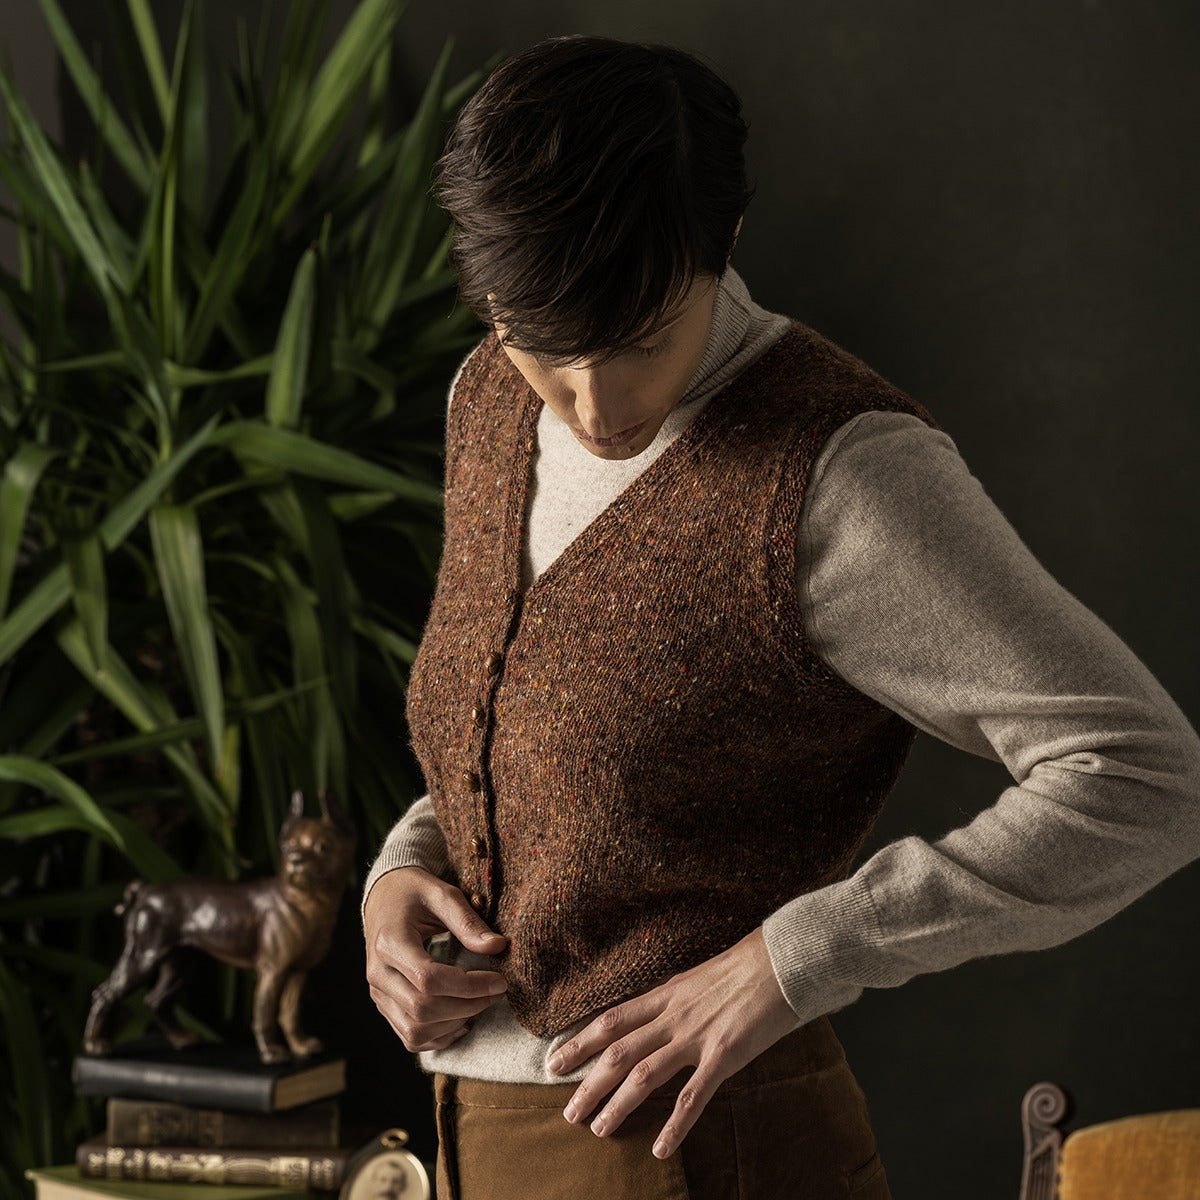
For the fronts, the neck and armhole shaping are worked simultaneously. You may find it helpful to place a removable marker in the fabric at the neck edge for reference.
The seed stitch pattern is defined for both an even and odd number of stitches. You will find it easier to work in seed stitch if you are able to “see” the pattern, and after working the first row simply work the stitches the opposite of how they appear; in other words, always purl the knit stitches, and knit the purl stitches.
Images: Linette Kielinski / Team Kielinski
Hair/Makeup: Kat Sterret
Model: Laurent Dylan
Specifications
Specifications
DESIGNER
Courtney Kelley
YARN
Kelbourne Woolens Cricket (100% Merino wool; 415 yds/100 gm skein: rust 250, 2 (2, 2, 3, 3, 3, 3) skeins.
GAUGE
26 sts and 36 rows = 4” (10 cm) in St st on larger ndls, after blocking and light felting.
NEEDLES
1 – 16” (40 cm) US 2 (2.75 mm) circular.
1 – 24” (60 cm) US 2 (2.75 mm) circular.
1 – 32” to 36” (80 to 90 cm) US 2 (2.75 mm) circular.
2 – US 2 (2.75 mm) DPNs (used to work pocket).
1 – 24” (60 cm) US 3 (3.25 mm) circular.
2 – US 3 (3.25 mm) DPNs (used to work pocket).
Check your gauge and adjust needle size accordingly if necessary.
NOTIONS
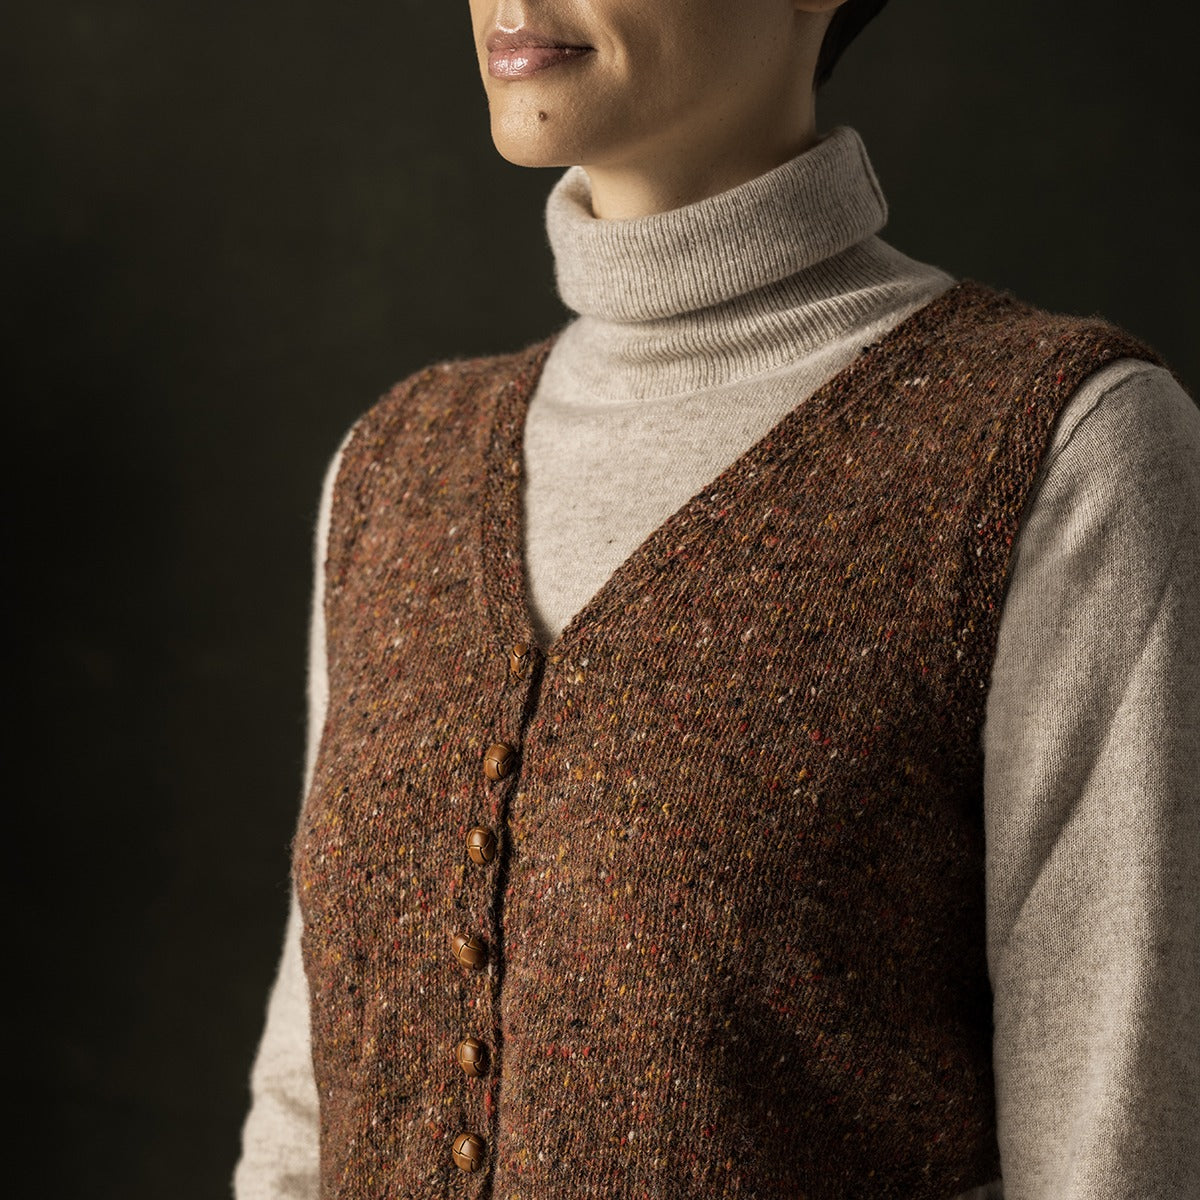
Tapestry needle, stitch markers, removable markers, smooth contrasting waste yarn for pocket insertion (fingering or sport weight cotton recommended), six 0.5” (1.3 cm) buttons, sewing needle and thread for attaching buttons.
SIZES
34.5 (38.25, 42.5, 46.75, 50.75, 54.25, 58, 62.25)” finished bust, buttoned. Ross is designed to be worn with 2–3” (5–7.5 cm) of positive ease, or as desired. Please see schematic for more detailed finished measurements.
SKILLS
Basic shaping, mattress stitch, whip stitch (for pocket), gentle hand felting.
Useful Tips
Useful Tips
For a tutorial on evenly picking up stitches, visit: kelbournewoolens.com/blog/2015/04/perfectly-picked-up-stitches
For a tutorial on working a sloped bind off, visit: kelbournewoolens.com/blog/2019/09/sloped-bind-off


