Working from charts seems to cause the most joy and consternation for knitters. We here at KW are fully on Team Chart. I would never consider knitting anything but the most straightforward and basic lace or cable pattern without a chart, and see no reason whatsoever to ever work stranded patterns without one. If something terrible were to happen to me tomorrow, my epitaph would most likely read Here Lies Kate. She Loved the Oxford Comma, Videos of Corgi Puppies, and Charts.
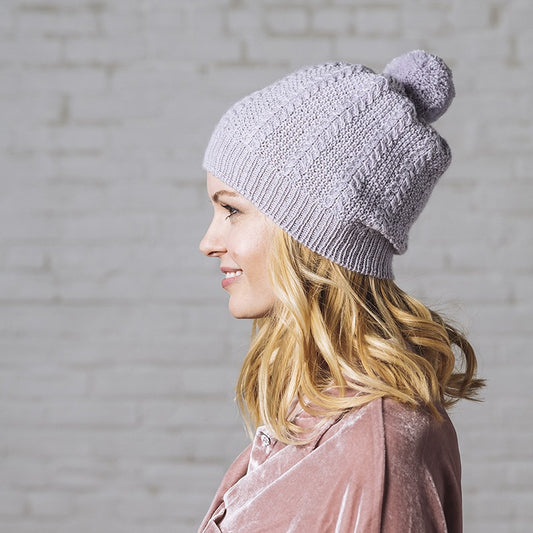
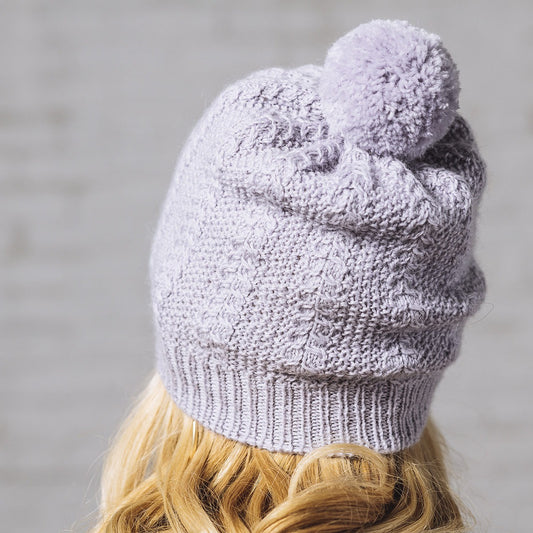
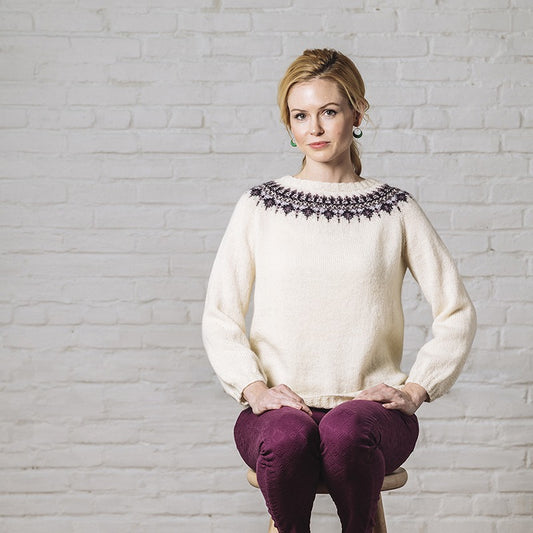
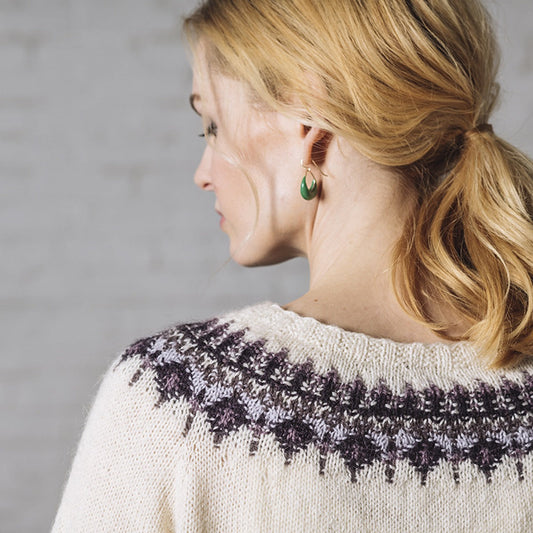
We teach charts a lot in classes, and try to provide as much support as possible in our patterns if they include charts. Since a lot of our designs feature either colorwork or cable motifs, a lot of the designs also have charts. Many also incorporate integrated increases and decreases into the pattern. This means that while working from the charts, increases (or decreases) are worked within the stitch pattern to shape the piece. Both Delia and Jenny from the Andorra Collection feature shaping within the charts – on Delia, there are increases on the first round of the cable pattern and then decreases with in the cables at the crown. In Jenny, there are increases worked within the stranded patterning to shape the yoke.
  Bennet Creek is another design that uses increases within the cable panel to shape the sweater. On both Delia and Bennet Creek, the increases serve to maintain proper width of the fabric once cables are incorporated into the knitting. (You can read more about gauge in cable pattern versus gauge in stockinette in our tutorial on measuring gauge in cable pattern if this concept is new to you, or you’d like some more in depth information.)
How To:
Below is a sample of a charts that includes increases within the pattern. On Row 1, increases are worked across the row outside of the cable pattern, and on Row 3 they are incorporated into the cable cross.
Stitch Counts:
The charts shows what your knitting looks like after the action as been completed.
This is why you count 20 boxes in that first row, even though you are starting with 16 stitches: after working Row 1, you will have 20 stitches on your needles.
You begin working Row 2 with 20 stitches on your needles. There are no increases on Row 2, so after working Row 2, you will still have 20 stitches on your needles.
You begin working Row 3 with 20 stitches on your needles. After working Row 3, you will have 24 stitches on your needles, and will maintain the 24 stitches for the remainder of the charts.
First Four Rows Written Out:
Row 1 / K2, p2, m1p, k2, m1p, p4, m1p, k2, m1p, p2, k2 – 20 sts.
Row 2 / K5, p2, k6, p2, k5.
Row 3 / K2, p3, C2R2Inc, p6, C2L2Inc, p3, k2 – 24 sts.
Row 4 / K5, p4, k6, p4, k5.
And that’s really all there is to it! Again, the key concept is to understand that the charts shows what your knitting looks like after the action as been completed.
-
Delia Hat Pattern
Regular price $8.00Regular priceUnit price per -
Jenny Sweater Pattern
Regular price $8.00Regular priceUnit price per